
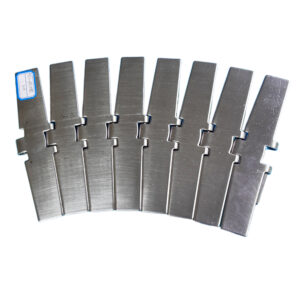


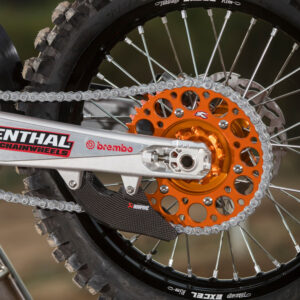

Why Every Motorcycle Needs a High-Quality Chain
Every rider knows that performance, comfort, and safety all rely on one small but vital component — the motorcycle chain.
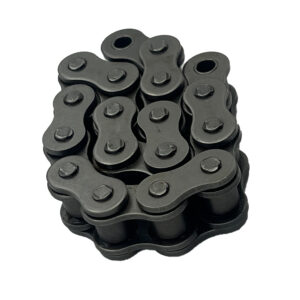
Best Chains for Pathfinder Motorcycles: Built for Endurance and Adventure
When it comes to adventure motorcycles like Pathfinders,
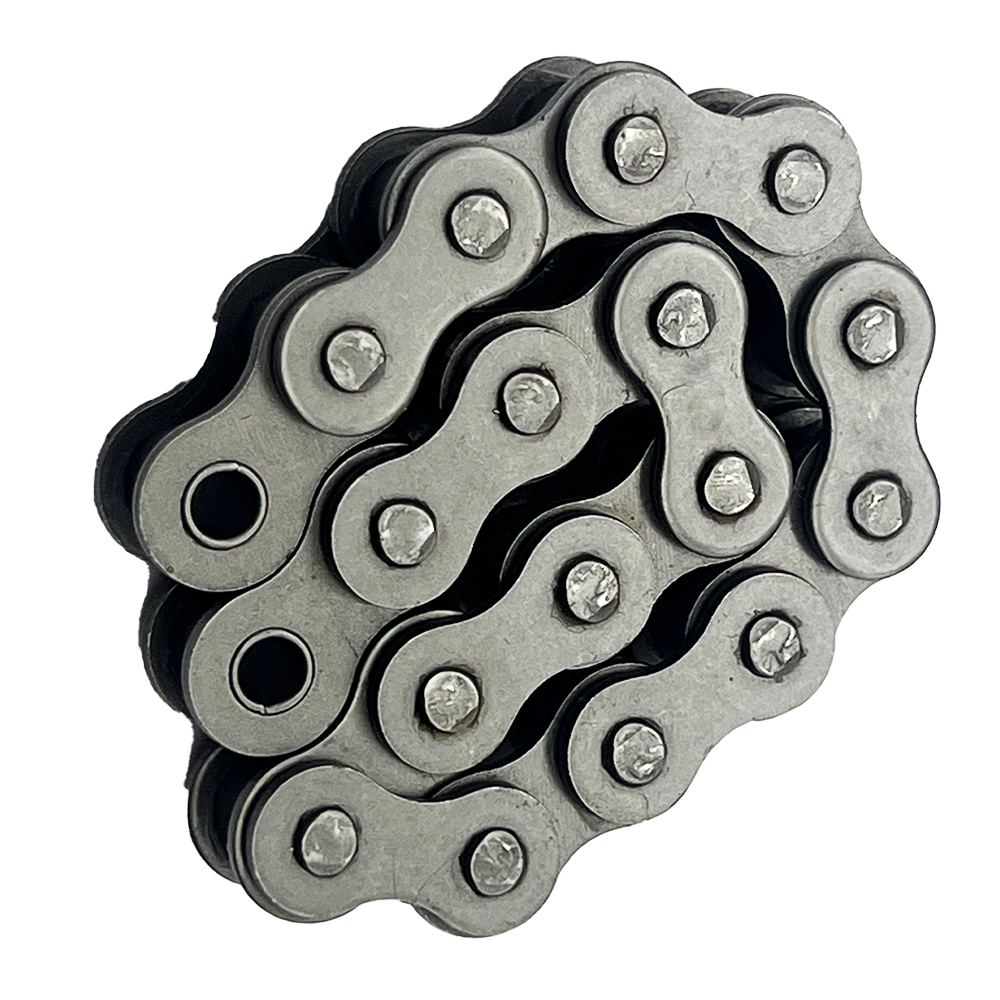
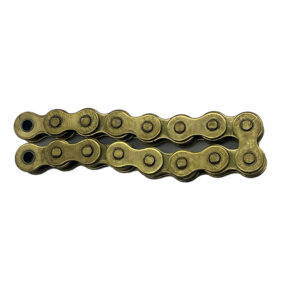
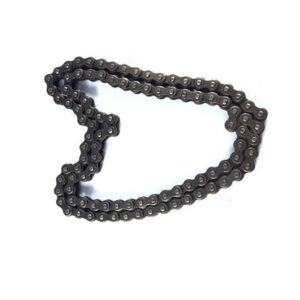
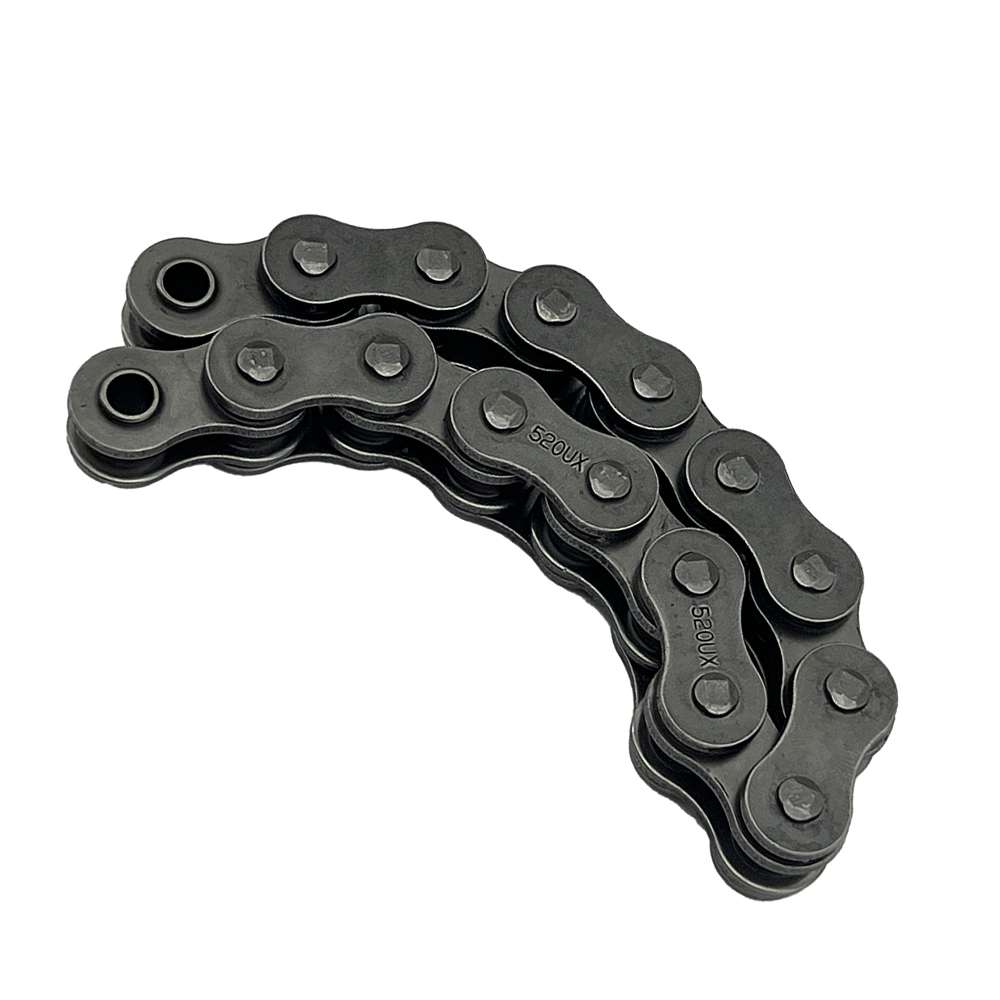
What Is a Sealed Chain? The Hidden Power Behind Long-Lasting Performance
Picture pushing your bike to the restriction– smooth acceleration, no metal squeals, no loss of power– mile after mile.