
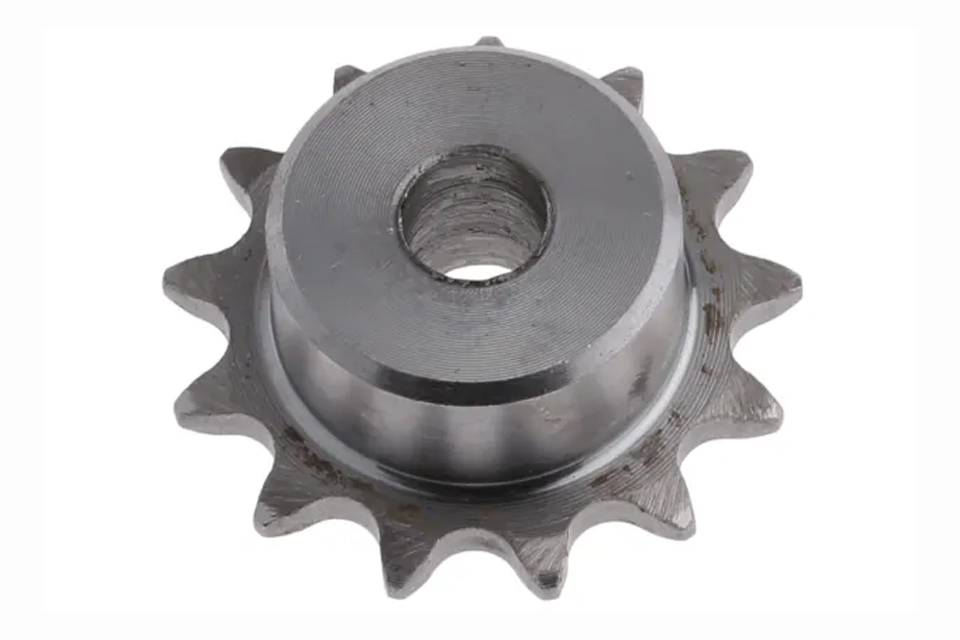

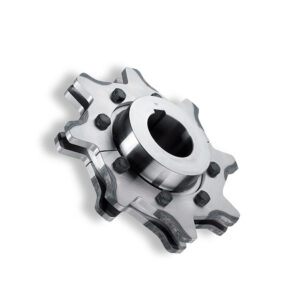
How To Design Chain Sprockets For Large Conveyor Chains?
Designing chain sprockets for large conveyor chains is a critical task that ensures the efficient operation of conveyor systems across various industries.
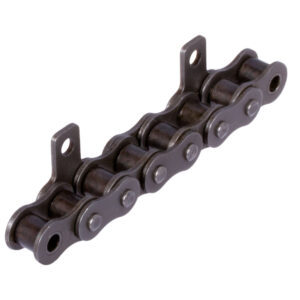
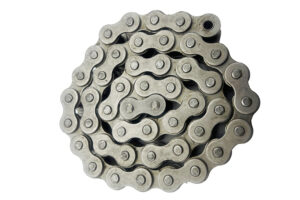
Understanding The Meaning Of Rolling Chain
In the world of machinery and mechanical systems, the term rolling chain often comes up, particularly in discussions about power transmission and movement.
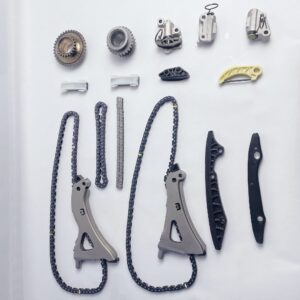
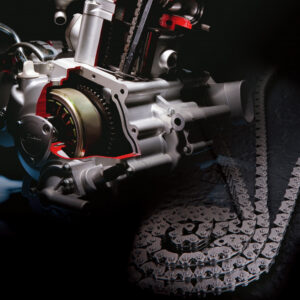
Timing Chain Kit: The Heart of Your Car
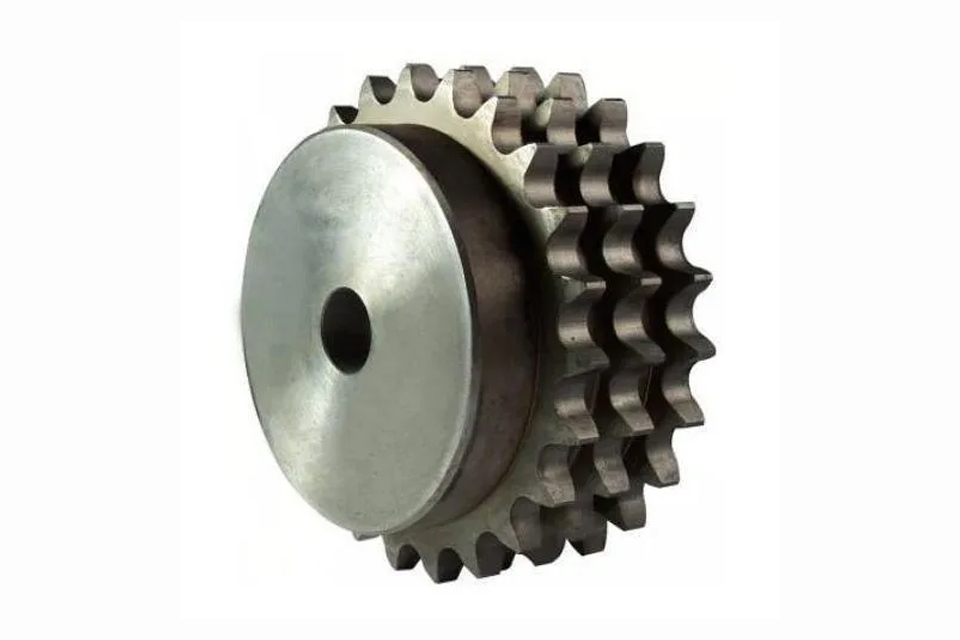
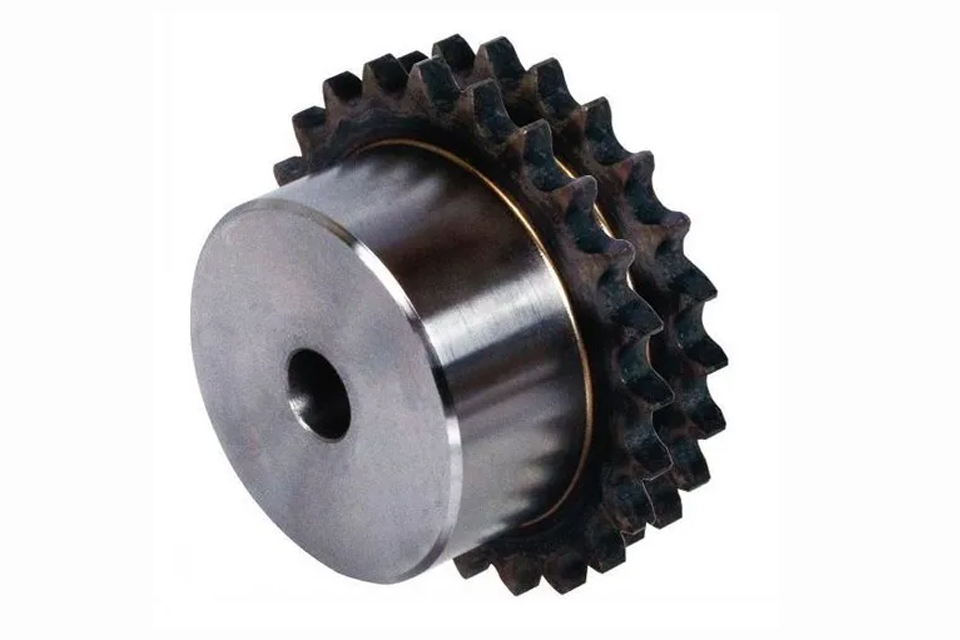
Sprockets are essential components in various mechanical systems, playing a crucial role in power transmission and motion control.

How To Lubricate Your Motorcycle Chain: A Complete Guide For Smooth Performance
Proper lubrication of your motorcycle chain is one of the most important maintenance tasks for any rider.
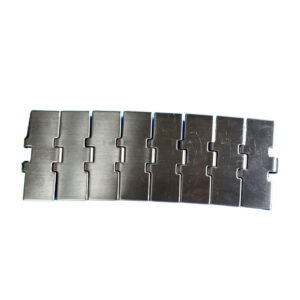
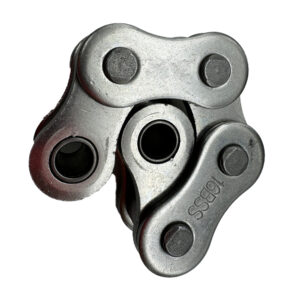
Where Is The Leaf Chain Used?
Leaf chains are essential components in various industrial applications, known for their strength and reliability.
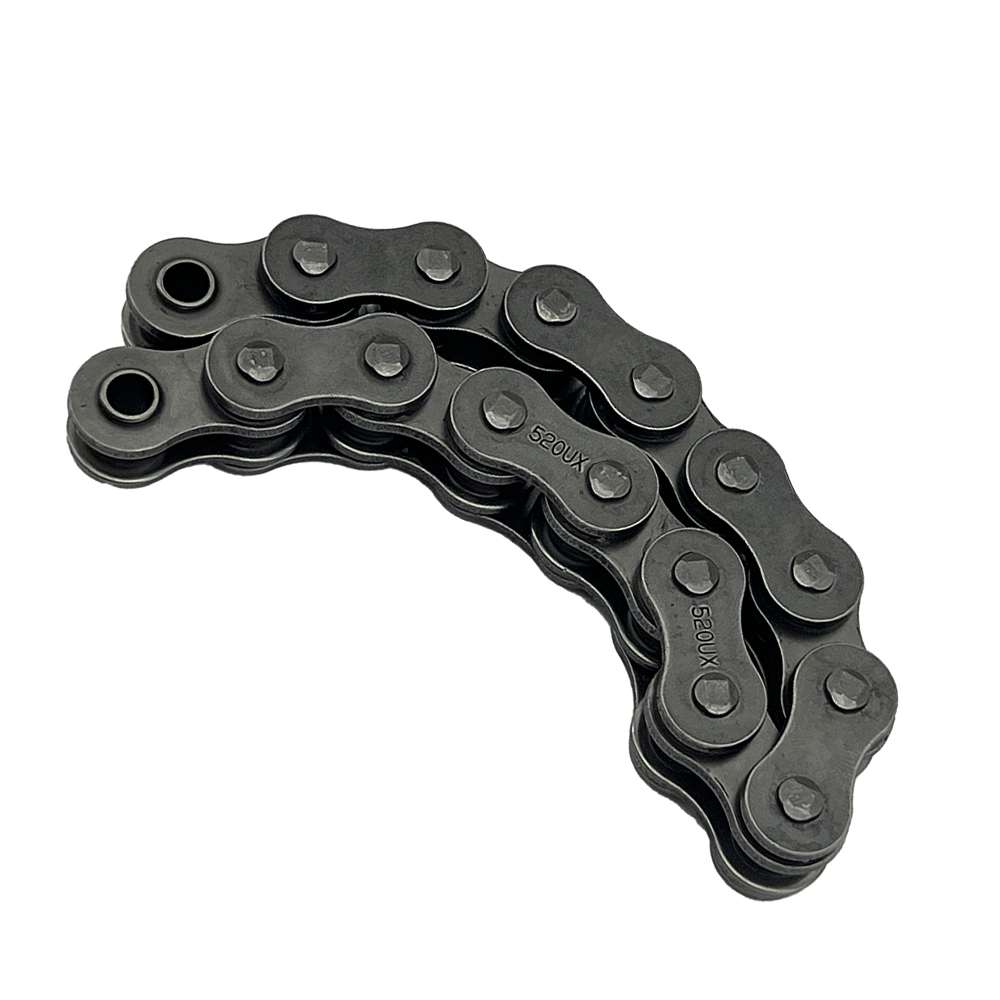
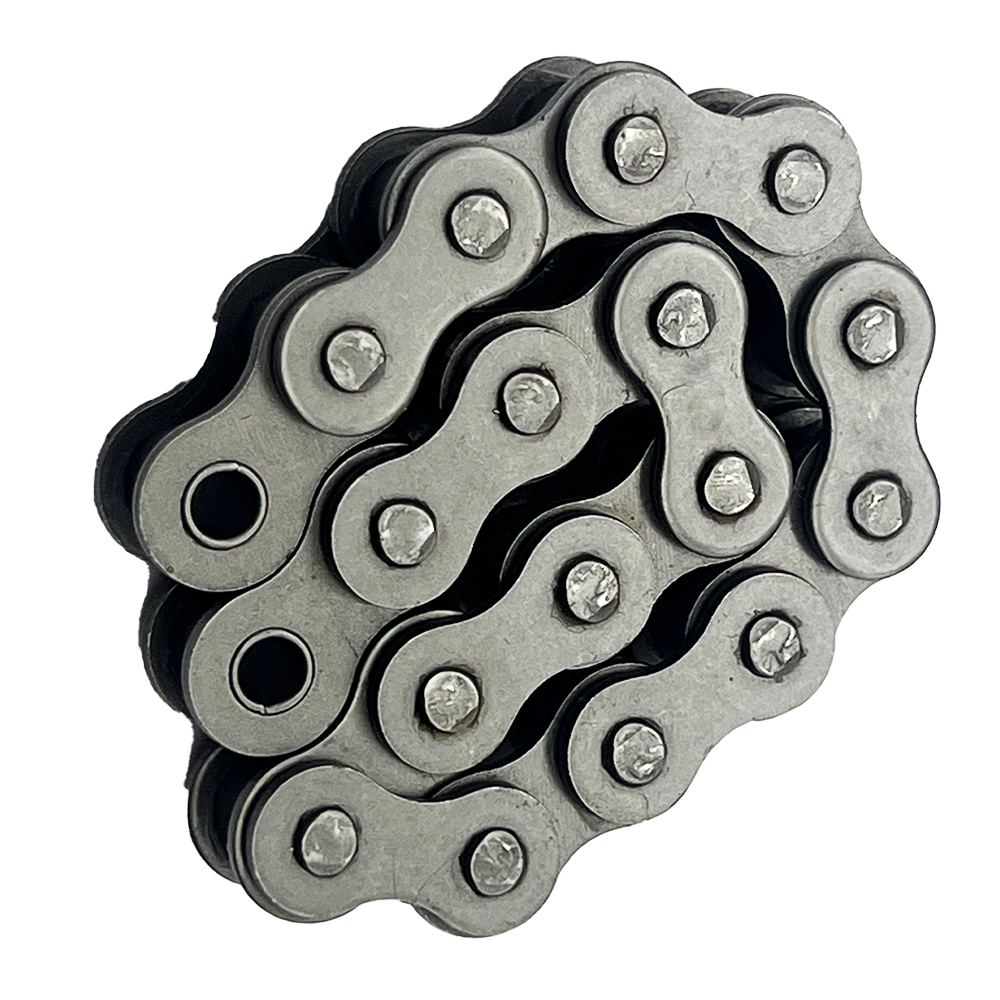
Why Every Motorcycle Needs a High-Quality Chain
Every rider knows that performance, comfort, and safety all rely on one small but vital component — the motorcycle chain.
Best Chains for Pathfinder Motorcycles: Built for Endurance and Adventure
When it comes to adventure motorcycles like Pathfinders,
What Is a Sealed Chain? The Hidden Power Behind Long-Lasting Performance
Picture pushing your bike to the restriction– smooth acceleration, no metal squeals, no loss of power– mile after mile.